Waterproof / Resistant Fabric Put to the Test

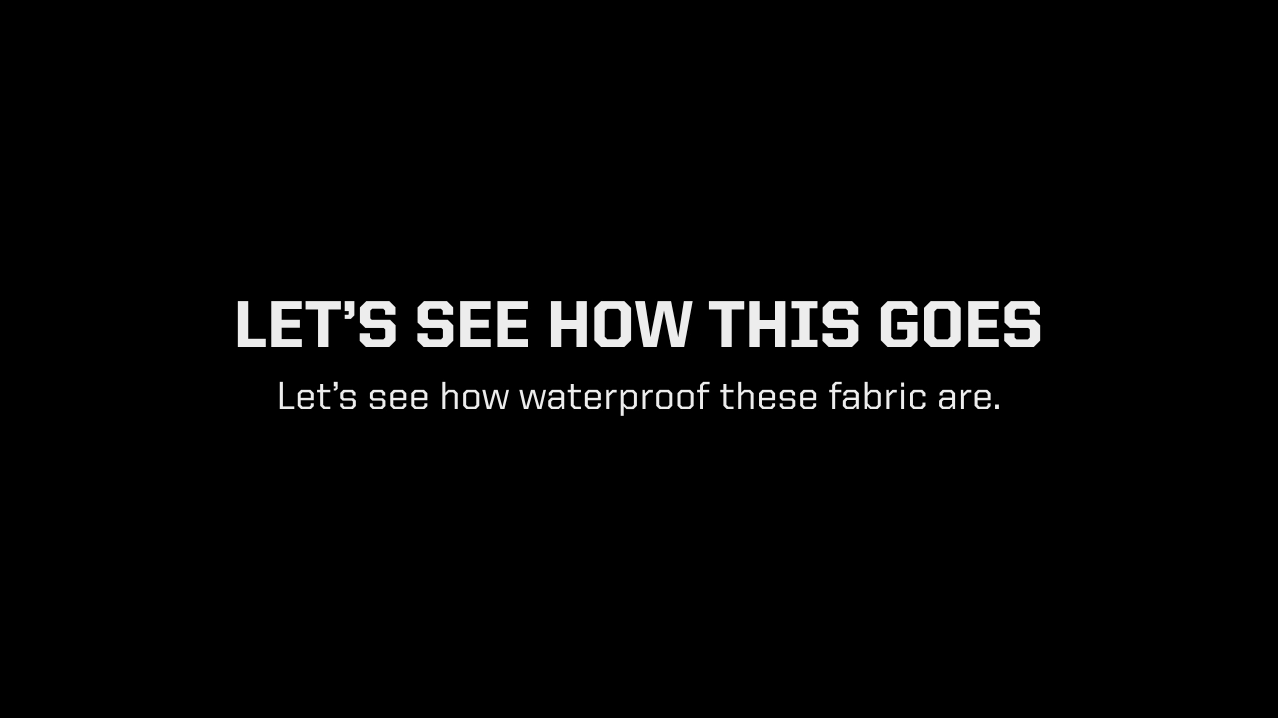
People have been asking that I demonstrate our waterproof or water resistant fabrics and how they hold water. I like to make you all happy so here goes… In the following video, I demonstrate the waterproof property of our weatherproof fabrics by letting water sit on top of it for almost 24 hours. Sit back, enjoy and be wowed by our super amazing fabrics.. Well, maybe not wowed.. but you should be impressed. These fabrics are cool!

When it comes to waterproof fabrics, Camo Fabric Depot has what it takes to keep you or whatever it is that needs covering dry under the harshest of conditions. In the previous video, I demonstrate the ability that our waterproof fabric has when holding water over an extended period of time. The fabrics stood strong for 22 hours and absolutely no leaking. Though this is a relative short period of time, I am confident these fabrics would have never leaked! I can think of a million things I could do with this fabric!

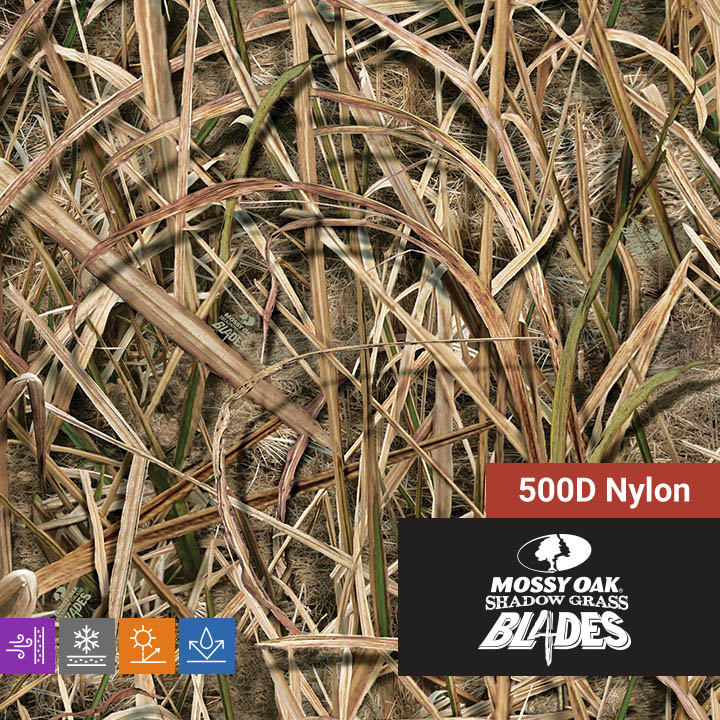
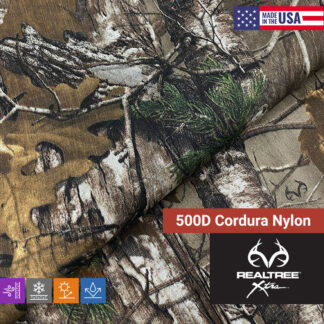
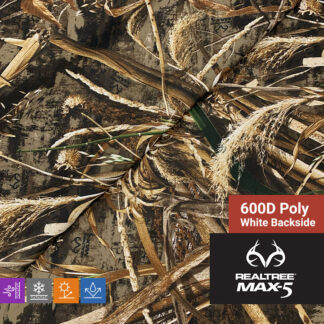
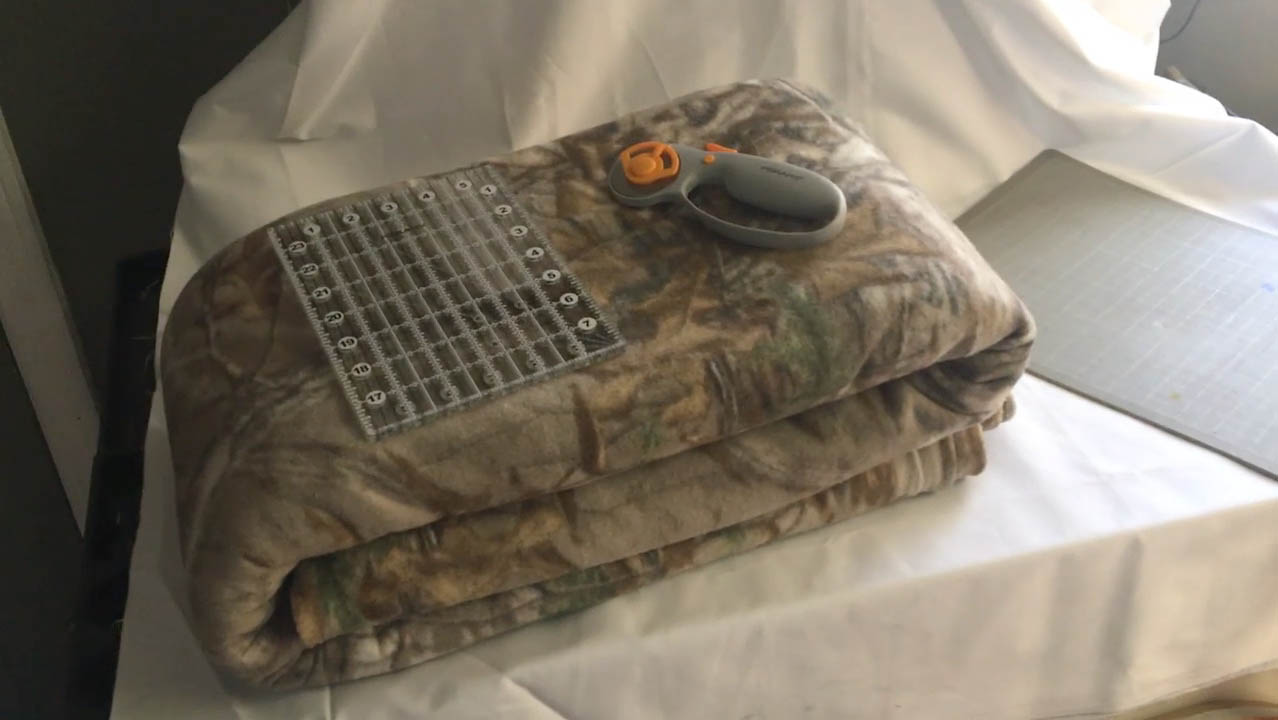
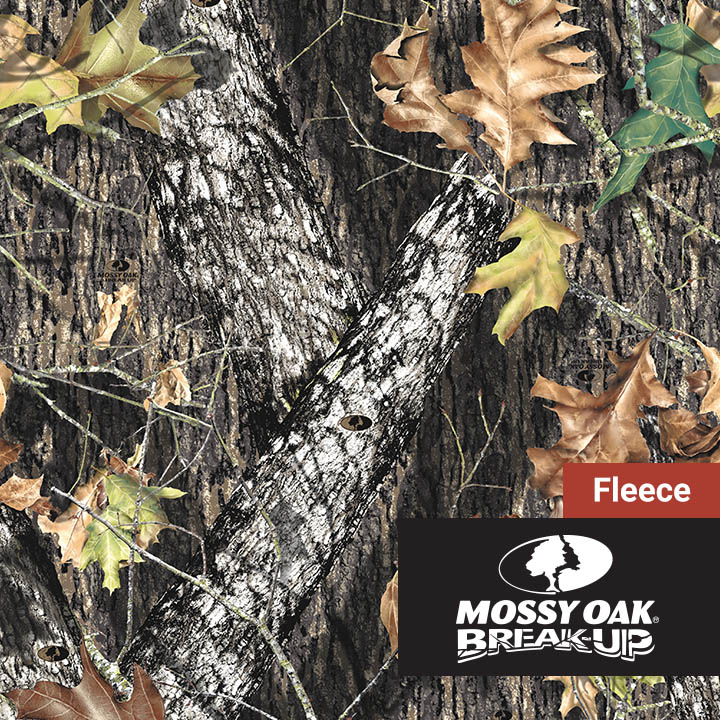
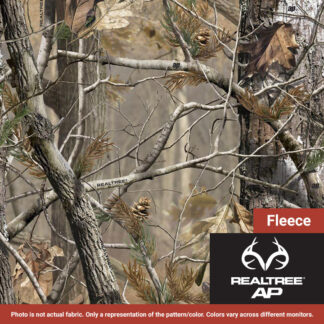
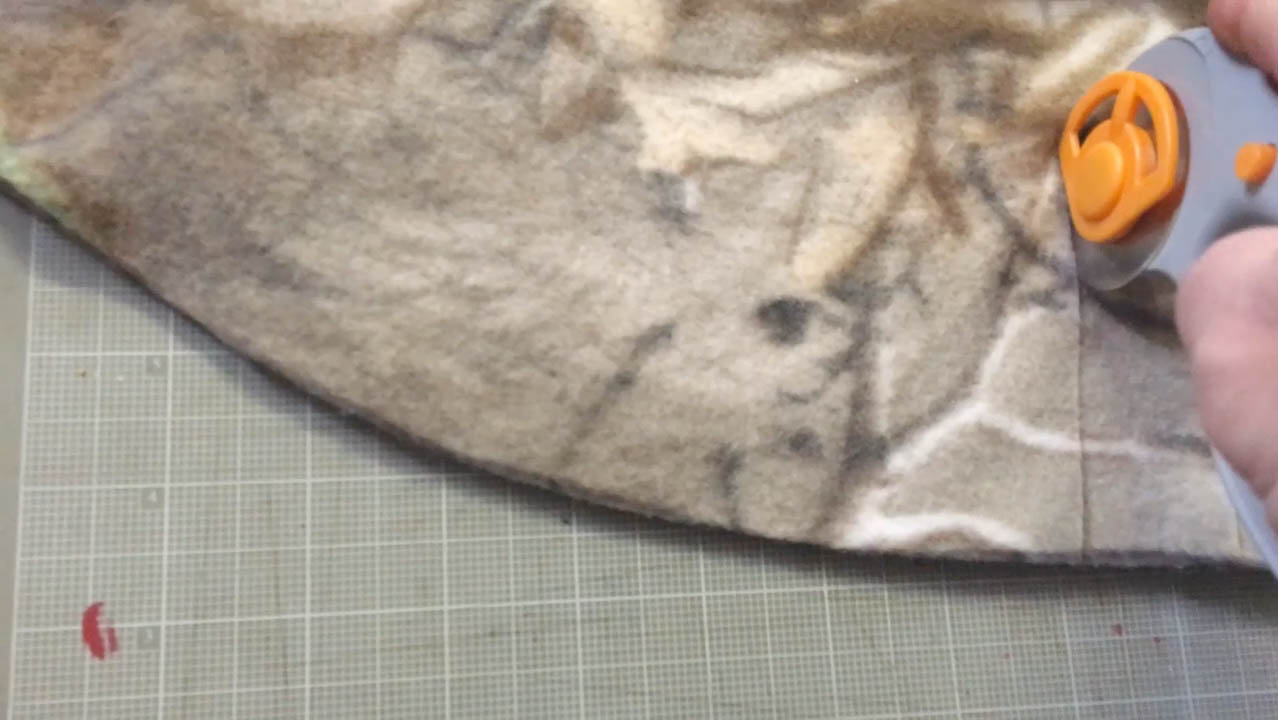
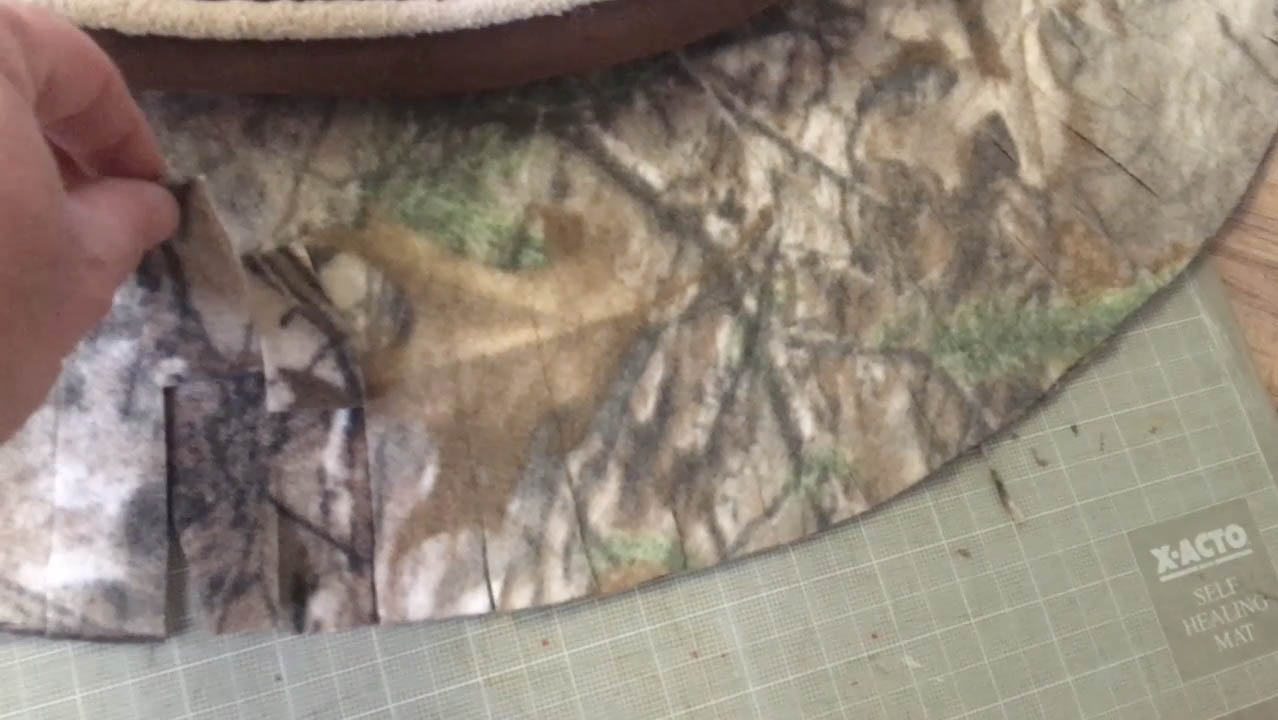
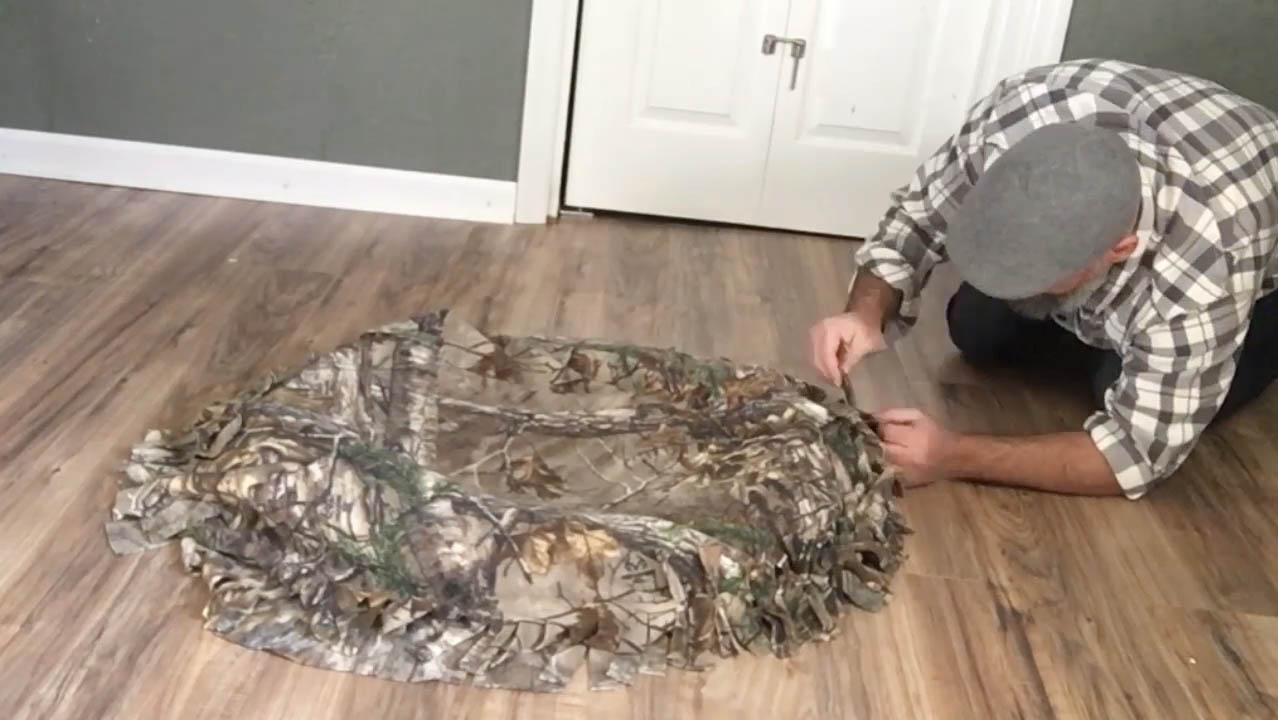
From the waterproof 70D Nylon Ripstop to the water proof 1000D Cordura Nylon you won’t find a better group of outdoor performance fabrics that can protect you from the elements. These fabrics are perfect for bags, backpacks, hunting blinds, tents and hammocks. Heck, really anything that you need tough, dependable, waterproof fabric for. We have plenty of stock of 70D Nylon Ripstop, 500 Denier Cordura Nylon, 600 Denier Ploy Oxford and 1000 Denier Cordura Nylon. All of these fabrics are weatherproof and ready to be purchased by the yard. Fabrics are available in a variety of your favorite camouflage patterns including Realtree, Mossy Oak, A-TACS Camo, Moon Shine Camo, Next Camo and more! All of the fabrics are available by the yard. Buy a few yards and see for yourself. You won’t be disappointed!

Mother Nature has truly met her match with these fabrics and their weatherproof properties.
SHOP ALL WATERPROOF FABRICS

  • A-TACS IX 1000D Nylon

    1000D Cordura® Nylon – A-TACS IX – 59/60″

    $23.04 / yd
  • Mossy Oak Shadow Grass Blades 500D Nylon

    500D Cordura® Nylon – Mossy Oak Shadow Grass Blades – 60″

    $20.42 / yd
  • Realtree Xtra 500D Nylon

    500D Cordura® Nylon – Realtree Xtra – 60″

    $20.42 / yd
  • Next Camo Bonz 600D Poly

    600D Poly – Next Camo Bonz – 57/58″

    $15.17 / yd
  • Realtree Max-5 600D Poly Fabric

    600D Poly – Realtree Max-5 – 57/58″

    $14.65 / yd

How to Recover a Dog Bed – Tie Blanket Style

Let's see how this goes. Recover a dog bed with fleece fabric.

Molly loves her bed. When she is ready to relax she can always be found resting in the same bed that she has had since she was a puppy. Since she really loves her bed, I didn’t want to take it away from her by buying a new one. I decided to give re-covering it with Realtree Xtra fleece fabric a try. I think that it turned out really nice and to be honest I really feel that Molly likes the bed even more than she did. The softness of the camo fleece fabric makes what was turning into an old, ugly looking dog bed into a new, softer experience for her. Here are the steps I took making this DIY dog bed.

Step 1: Purchase Camo Fabric

Purchase Camo Fleece FabricThe first thing you need to do obviously is to purchase some fleece fabric. I love the vibrant colors of our camo fabric and extremely soft feel of our fleece so it was a no-brainer to go with one of our great fleeces. The size of your dog’s bed will determine how much fabric you will need. Below is a list of some of our available fleece fabric.

  • Mossy Oak Break Up Camo Fleece

    Fleece – Mossy Oak Break-Up – 58/60″

    $15.45 / yd
  • Realtree AP Camo Fleece

    Fleece – Realtree AP -58/60″

    $15.45 / yd

Step 2: Measure and Cut

Measure & Cut FabricMeasure & Cut FabricTo measure Molly’s bed I folded the fabric over to create two layers. You want the two layers to be the same size so that you can cut the tie fringes evenly. Be sure to have the inner-side of the fabric facing upwards so that when you mark it with a Sharpie it’s not on the outside portion of the fleece fabric. Outline the bed leaving around 6 inches of room on the outside for the fringes and thickness of the bed. This can be adjusted smaller or bigger depending on the size of the dog bed. Once you have it marked with a Sharpie cut the fabric along the mark you just made. I found it easy to cut using a rotary cutter that I found at my local fabric store.

Step 3: Cut Fringes for Tying

Cut FringesCut FringesYou can cut the fringes to whatever length you want but I found that 3-4 inch long fringes look really nice. Using the rotary cutter, simply go around your two layers of fleece fabric and cut the fringes to even length and width. Since I was cutting the fringes on my floor I used a self-healing mat that I moved along the edge of the fabric to cut on. This saves damage to the floor as well as saves the sharpness of the cutting blade.

Step 4: Tie the Fabric Around the Dog Bed

Tie Fringe EdgesThe last step is to tie the two layers of fabric around the existing dog bed. Lay the dog bed in between the two pieces of fabric that you just cut the fringes on. Be sure to make sure that the outside of the fabric is facing toward the outside on both the bottom and top. (You will be able to tell because the fabric is brighter and more vibrant on the print side.) Start tying. The knot is a simple knot to secure the fabric. I tied every other fringe to give it a more”fringy” look.